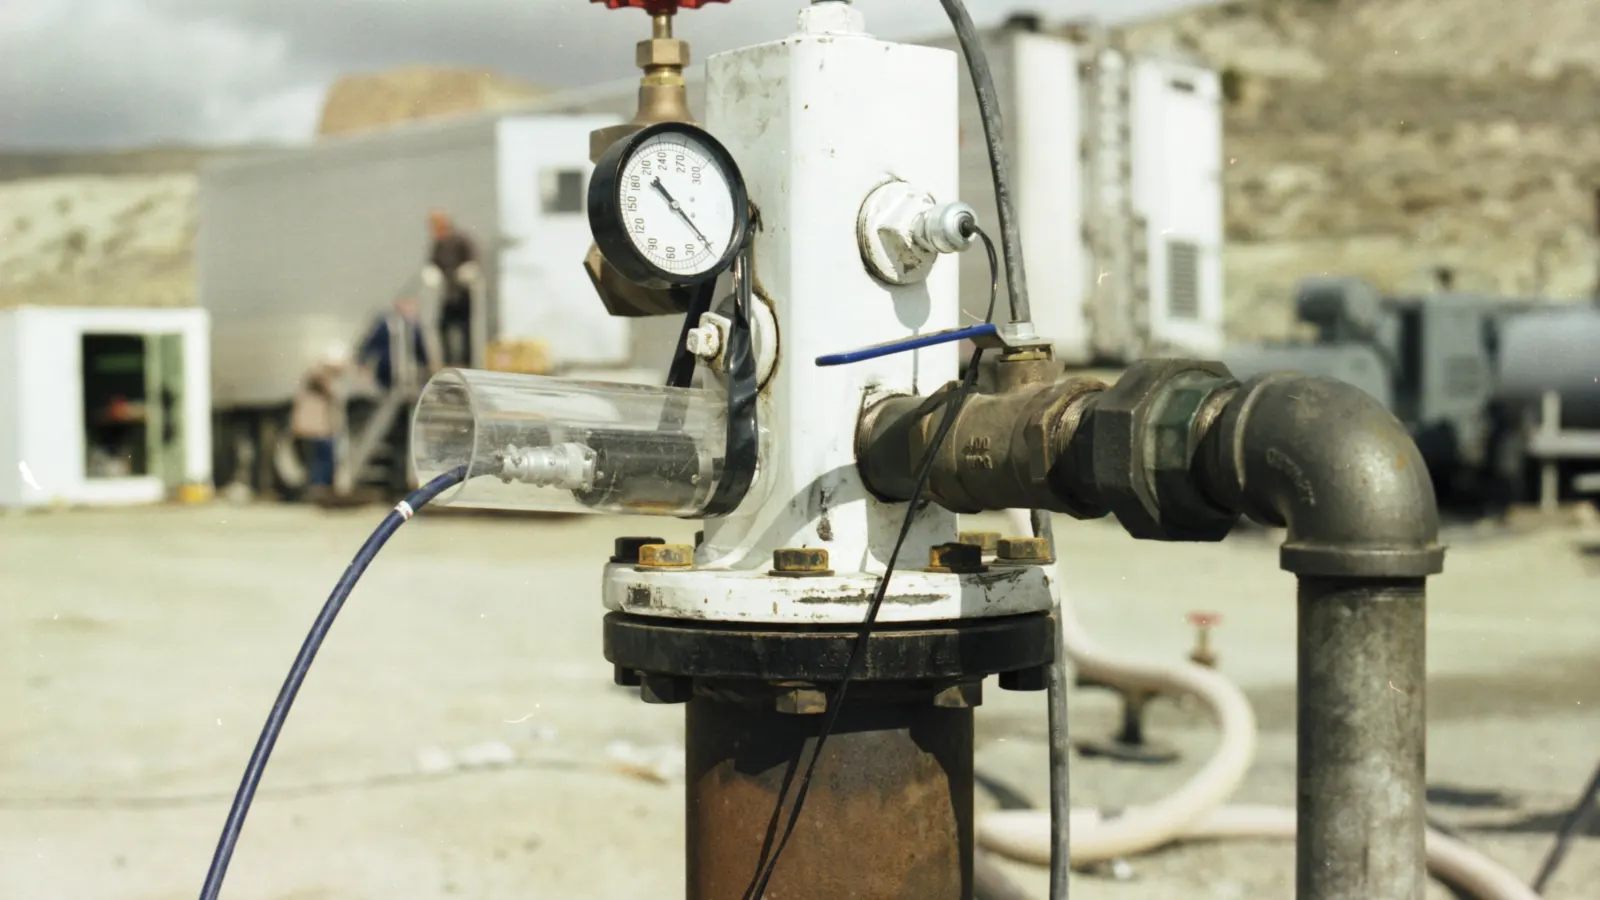
For: Pressure testing and leak detection before commissioning new piping systems or after maintenance.
Why Pressure Testing Is Required
Purpose:
- Verify strength and seal integrity of pipes, valves, and flanges.
- Detect defects (weld cracks, flange leaks, valve damage) before commissioning to prevent operational incidents.
Standards: ASME B31.3 (Process Piping), GB/T 50235 (Industrial Metal Piping Engineering Construction Code).
Types of Pressure Tests
1. Strength Test
Purpose: Verify pipe pressure capacity.
Test pressure: 1.5 × design pressure (or 1.5 × working pressure, whichever is greater).
Medium: Typically water (hydrostatic test).
Duration: Increase to test pressure, hold 10–30 minutes. Pass if no deformation or leakage.
2. Tightness Test / Leak Test
Purpose: Check seal integrity, detect minor leaks.
Test pressure: 1.1 × design pressure.
Medium: Water or gas (pneumatic test).
Duration: Hold 10 minutes. Pass if no leakage at flanges, welds, or valves.
Hydrostatic Test Procedure
Preparation
- Pipe cleaning: Remove weld slag, rust, debris.
- Temporary blinds: Install blinds at equipment requiring isolation (pumps, instruments).
- Vent valves: Install vent valves at highest pipe points.
- Fill with water: Slowly fill from lowest point, open vent valves to purge all air.
- Check: Ensure all valves open, flange bolts tight.
Pressurization and Holding
- Staged pressurization: Increase to 25%, 50%, 75% of test pressure, hold 5 minutes at each stage, check for abnormalities.
- Reach test pressure: Hold 10–30 minutes (DN < 300: 10 minutes; DN ≥ 300: 30 minutes).
- Inspection: Walk the piping section by section, focusing on flanges, welds, valves, elbows.
Depressurization and Drainage
- Slowly depressurize (rate < 0.5 MPa/min to avoid water hammer).
- Open drain valves, drain all water from piping.
- Blow with compressed air (if piping requires drying).
Pneumatic Test Procedure (Dangerous—Use with Caution)
When to Use Pneumatic Test?
- Piping carries gas (e.g., compressed air, nitrogen).
- No water source or drainage difficult.
- Water residue not allowed (e.g., cryogenic piping).
⚠️ Danger
Gas is compressible and stores large energy: Test pressure 1.0 MPa, DN300 pipe, 100m long stores energy equivalent to 10kg TNT. When pipe ruptures, fragments fly at high speed—potentially fatal.
Safety measures:
- Test pressure not exceeding 0.4 MPa (or design pressure, whichever is lower).
- Pressurization rate < 0.1 MPa/min.
- All personnel evacuate 50m away during hold period.
- Use nitrogen or air, not oxygen (flammable/explosive).
Steps
- Fill with nitrogen or compressed air, purge water from piping.
- Pressurize to 0.5 × test pressure, hold 5 minutes, check.
- Continue to test pressure, hold 10 minutes.
- Reduce to design pressure, apply soapy water to flanges and welds, observe for bubbles (leak points).
Leak Detection Methods
Method 1: Visual Observation
For: Obvious leaks (drips, wet spots).
Operation: Walk piping inspection, focus on:
- Flange connections
- Welds (especially fillet welds, tees)
- Valve stems and bodies
- Pipe low points (water accumulation)
Method 2: Soap Bubble Test
For: Pneumatic tests, detecting minor leaks.
Operation:
- Mix soapy water (dish soap + water, 1:10 ratio).
- Apply with brush or spray bottle to flanges and welds.
- Observe for bubbles forming (leak points).
Method 3: Ultrasonic Leak Detector
For: Compressed air and steam piping, detecting high-frequency leak sounds.
Tools: Ultrasonic leak detector (e.g., UE Systems Ultraprobe).
Operation: Hold detector near piping; leak points emit sharp ultrasonic signals.
Method 4: Ammonia Test
For: Refrigeration systems (ammonia compressors, cold storage piping).
Operation:
- Fill piping with ammonia (or ammonia + nitrogen mixture).
- Use phenolphthalein paper (or copper sulfate paper) to detect; turns red (or blue) when exposed to ammonia.
Common Issues and Solutions
Issue 1: Pressure Drops During Pressurization
Causes:
- Pipe leak (flange, weld, valve).
- Pump or pressure gauge malfunction.
Solution:
- Stop pressurization, walk piping inspection, find leak points.
- Tighten flange bolts or replace gasket.
- Weld leak → depressurize, drain, reweld.
Issue 2: Pressure Slowly Drops During Hold Period (< 5% / 10 minutes)
Causes:
- Temperature drop, water or gas contraction.
- Pipe elastic deformation absorbing some pressure.
- Minor leak.
Diagnosis:
- After temperature stabilizes, pressure still drops → leak present.
- Pressure drops then stabilizes → elastic deformation, normal.
Issue 3: Flange Won’t Seal, Continuous Seepage
Causes:
- Wrong gasket (e.g., rubber gasket instead of graphite).
- Flange face uneven or scratched.
- Incorrect bolt tightening sequence.
Solution:
- Replace appropriate gasket.
- Grind flange face.
- Tighten diagonally and evenly (3 passes, 1/3 turn each time).
Pressure Test Record Sheet
| Item | Data |
|---|---|
| Pipe number | P-101 |
| Design pressure | 1.6 MPa |
| Test pressure | 2.4 MPa (1.5 × design pressure) |
| Test medium | Clean water |
| Ambient temperature | 25°C |
| Pressurization start time | 2026-10-25 09:00 |
| Test pressure reached time | 09:30 |
| Hold duration | 30 minutes |
| Pressure change | 2.4 → 2.38 MPa (-0.02 MPa, normal) |
| Leakage status | No leakage |
| Conclusion | Pass |
| Signatures | Tester / Inspector / Owner |
Summary: Pressure Testing—Safety First
3 Key Points:
- Hydrostatic preferred, pneumatic use with caution: Pneumatic tests are dangerous—use water whenever possible.
- Staged pressurization: Don’t jump directly to test pressure—stop and check every 25%.
- Complete records: Record pressure, time, leak points, and corrective actions for documentation.
If you are sourcing pumps, valves or related equipment for a project, send KFE your equipment list and operating data and we will help with selection and quotation.
Related industry: Metals & Power Generation