Introduction
Proper installation and commissioning are what turn purchased equipment into a reliable production asset. Even high-quality equipment cannot reach its expected performance if it is installed poorly or commissioned inadequately. This guide walks through equipment installation, pre-commissioning checks, start-up procedures and performance verification, helping equipment run steadily from day one.
Installation Planning
Pre-Installation Document Review
Reviewing documents before the equipment arrives helps avoid costly delays and mistakes:
- General arrangement drawing: check that equipment dimensions, nozzle orientation and maintenance clearances match site conditions.
- Foundation drawing: confirm the foundation work matches the anchor bolt layout, elevations and load requirements.
- Installation manual: study the manufacturer’s installation instructions and note the special tools, steps and precautions required.
- Material certificates: confirm all required materials have valid, traceable certificates.
Site Preparation
Concrete foundations must reach their specified strength before equipment is installed, and foundation levelness should be within the specified tolerance (typically ±2 mm). Access routes must allow the equipment to be brought in, including overhead clearance, turning radius and floor load capacity. Utilities needed for commissioning, such as power, instrument air and cooling water, should be ready in advance. If the installation area is not covered, protect the equipment from rain and sun.
Tools and Equipment
Lifting equipment (cranes, hoists, chain blocks and slings) must be rated for the equipment weight with an adequate safety factor. Alignment tools include precision levels, dial indicators, laser alignment tools and feeler gauges. Bolts should be tightened with calibrated torque wrenches. Hydraulic tensioners for large bolts, bearing heaters and other special tools required by the manufacturer may also be needed.
Foundation and Support Installation
Preparing for Grouting
Proper grouting ensures even load distribution and long-term stability. The concrete surface should be cleaned, roughened and thoroughly wetted, removing laitance, oil and loose material so the grout bonds well. Formwork should extend beyond the baseplate edge so the grout fully covers it and the flow can be observed. During grouting, precision shims or levelling screws hold the equipment at the correct elevation and level. Epoxy or cementitious grout is selected according to equipment load, vibration level and operating temperature.
Grouting Work
Mix strictly according to the grout manufacturer’s instructions, since the wrong water ratio or mixing time reduces strength and flowability. Pour from one side so the grout flows completely under the baseplate, avoid trapping air, and pour continuously without cold joints. During curing (usually 24 to 72 hours), protect the grout from drying too fast, sudden temperature changes and vibration. After removing the formwork, check visually for full coverage without voids, and check strength by coring or tapping if needed.
Anchor Bolt Tightening
Remove shipping protection from the bolts, clean the threads and apply a suitable lubricant. Tighten in several passes in a diagonal (star) pattern from the centre outwards until final torque is reached. Use the torque value specified by the manufacturer, or calculate it from the required bolt stress, and use a calibrated torque wrench. For critical applications, final preload can be verified by ultrasonic bolt stress measurement or a hydraulic tensioner.
Mechanical Installation
Pump Installation
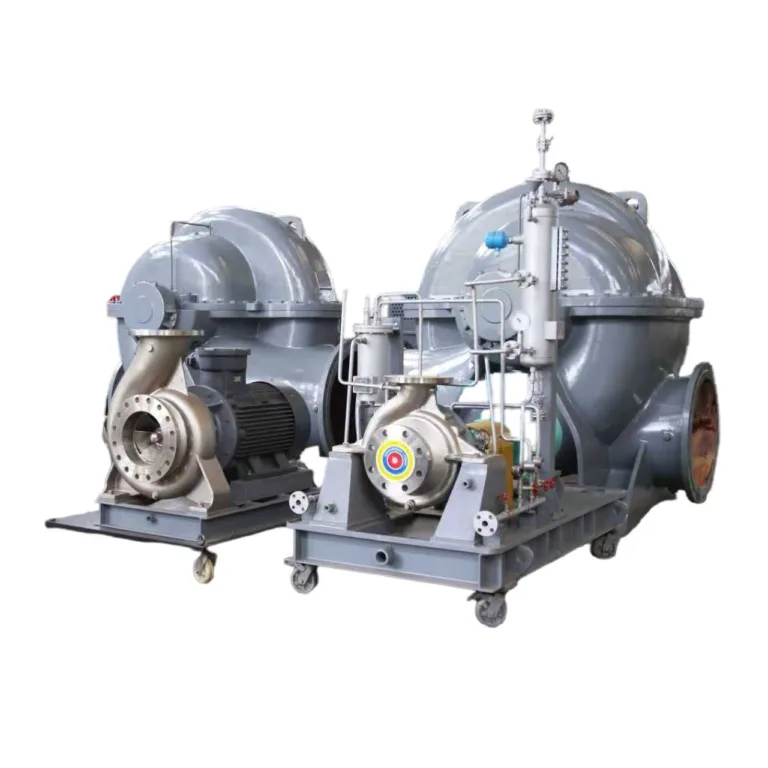
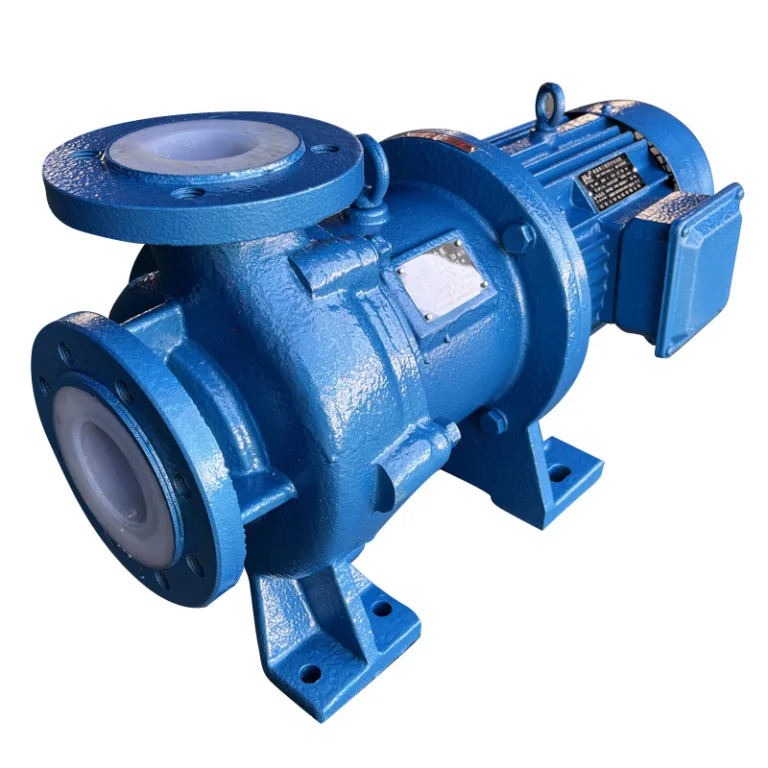
Alignment between the pump shaft and the driver (electric motor, turbine or engine) is critical for bearing life and vibration control, with a typical tolerance of 0.05 mm total indicator reading (TIR). Install the coupling according to the manufacturer’s instructions, keeping the specified gap and fitting the guard. Pipework should be supported independently so pipe loads do not act on the pump nozzles, and flanges must not be forced into alignment. Auxiliary systems such as seal flush, cooling water, lubrication lines and instruments are installed per the P&ID.
Valve Installation
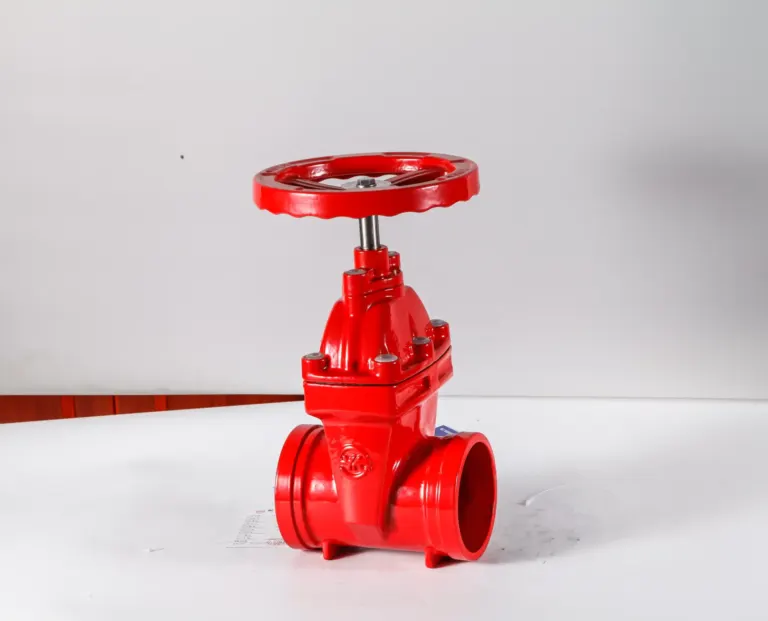
Valves should be installed in the correct flow direction, with stem orientation (vertical or horizontal) as designed. Large valves need independent support so pipe loads do not act on the valve body. Pneumatic or electric actuators are installed per the manufacturer’s torque and stroke time requirements, with travel indicators and limit switches checked. Temporary bypasses or isolation can be provided to simplify commissioning without affecting system operation.
Heat Exchanger Installation
Fit a fixed support at one end of the heat exchanger and a sliding support at the other to allow for thermal expansion. Piping should be well aligned so nozzles are not stressed during thermal cycling. High-point vents and low-point drains must be correctly installed and easy to operate. For removable tube bundles, leave enough space to pull the bundle for maintenance.
Piping System Installation
Pipe Fit-Up
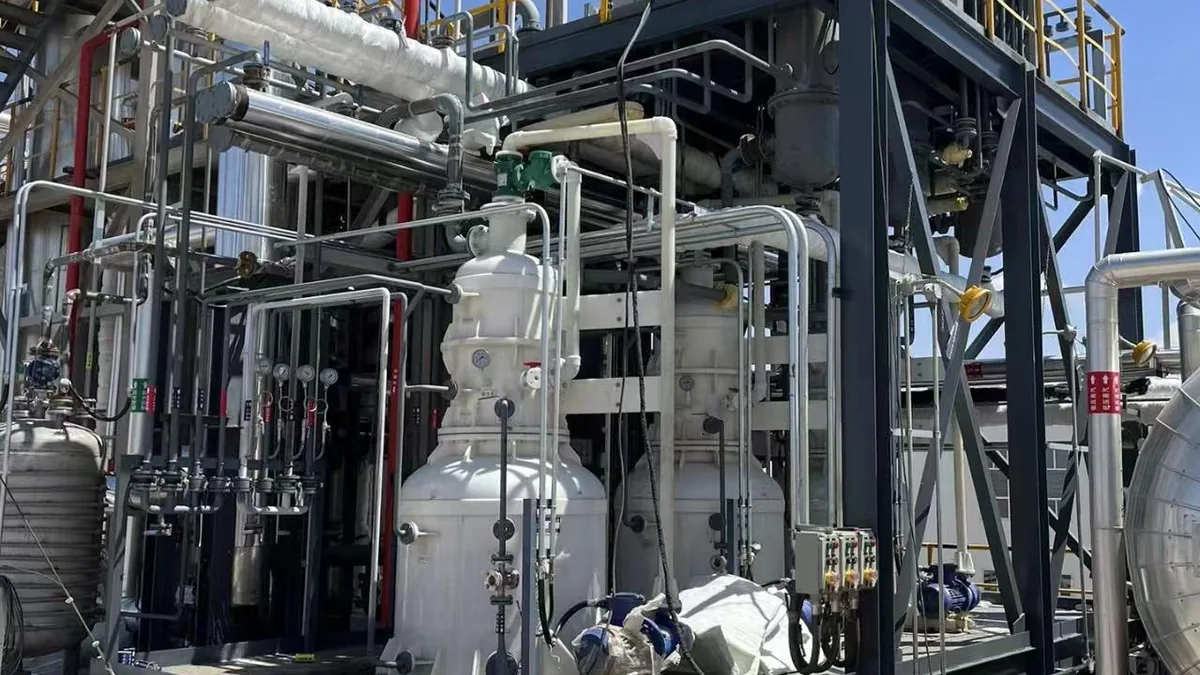
Before welding, pipe sections should be aligned within the specified tolerance, with root gap and misalignment controlled per code. Mill scale, rust, slag and debris must be cleaned from the pipe bore before closing welds. Use temporary supports to adjust alignment during fit-up, then replace them with permanent supports. Tighten flanges evenly in a star pattern to the specified torque, with gaskets correctly fitted.
Welding and Inspection
All welding must be done by qualified welders using qualified welding procedures, with slag removed between passes to ensure good fusion. After welding, carry out 100% visual inspection first, followed by radiographic, ultrasonic or other NDE as required by code and specification.
System Flushing and Cleaning
Depending on system materials and fluid, use suitable chemical cleaning to remove scale, rust and contamination, then flush at high velocity to remove loose debris and particles. Fit temporary start-up strainers to protect equipment during initial operation. Before running the equipment, inspect the strainers and sample the flushing water to confirm the required cleanliness.
Electrical and Instrument Installation
Motor Installation and Wiring
When installing the motor, align it, check for soft foot and tighten the hold-down bolts. Connect the motor leads per the electrical drawings and code requirements, with proper cable support and terminations. Bump the motor to confirm rotation direction before coupling it to the driven equipment. Earthing continuity and earth resistance must meet code requirements.
Instrument Installation
Install pressure, temperature and flow transmitters per the manufacturer’s requirements, paying attention to orientation and pipe support. Impulse lines should slope properly for draining or venting: avoid high points in liquid lines and low points in gas lines. Before use, calibrate instruments against traceable standards and loop-test the complete loop from field element through controller to final element.
Pre-Commissioning Checks
Mechanical Completion Checks
Confirm all equipment is correctly installed, aligned and secured; coupling guards are fitted securely to prevent contact with rotating parts; bearing housings and lubrication systems are filled with the correct lubricant to the specified level; and where practical, rotate the shaft by hand to confirm it turns smoothly without binding or unusual resistance.
Piping System Checks
All permanent supports are installed and correctly set, with spring hangers adjusted to cold or hot load; hydrostatic or pneumatic tests have been completed per code; all valves have been stroked fully by hand to confirm smooth operation and full closure; and all vents and drains work correctly and are routed properly.
Electrical System Checks
Confirm correct voltage and phase sequence at the motor terminals; simulate operating conditions to test control circuits, interlocks and safety shutdowns; complete loop checks covering transmitter output, controller response and final element action; and test emergency shutdown circuits and fire protection systems.
Commissioning and Start-Up
Preparing for First Start-Up
Carry out a pre-start-up safety review (PSSR) to confirm all safety systems are functional and personnel are trained. Review the start-up procedure with operators, covering the operating sequence and safety precautions. Set up reliable communication within the start-up team, such as two-way radios. Brief everyone on emergency procedures, including equipment emergency shutdown and evacuation routes.
First Start-Up
Confirm adequate lubrication before first rotation; some equipment needs pre-lubrication with an auxiliary oil pump. Large rotating equipment should first run at low speed, then be brought to full speed once vibration and temperature are confirmed normal. During start-up, continuously monitor key parameters such as vibration, temperature, pressure and flow against acceptance criteria. Increase load gradually rather than going straight to full load, so the equipment can stabilise and potential problems can be found under controlled conditions.
Performance Verification
Operate the equipment across the specified range to verify that performance meets the specification; record vibration at rated conditions and compare with acceptance limits; monitor bearing and seal temperatures to make sure they stay within allowable limits; and test control loops under different conditions to confirm correct response.
Commissioning Records
Start-Up Records
The start-up log records start-up activities, observations and problems in time order; summarises monitored parameters at key stages (first start, 1 hour, 4 hours, rated conditions); records problems found and corrective actions taken; and records the personnel present during commissioning and their roles.
Performance Test Results
These include measured flow at each operating point, inlet and outlet pressures that verify system design assumptions, measured power compared with predicted values, and calculated efficiency at rated conditions.
Handover Package
Handover documents include as-built drawings showing field changes, complete operation and maintenance manuals, a spare parts list with critical spares and ordering information, and records of completed operator training.
Common Installation and Commissioning Problems
Mechanical Problems
| Problem | Consequence | Solution |
|---|---|---|
| Excessive misalignment | Vibration, bearing damage, seal failure | Realign to requirements |
| Pipe strain | Equipment distortion, seal leakage | Adjust pipe supports to remove nozzle loads |
| Foundation problems (soft foot, poor grouting, weak foundation) | Vibration and structural problems | Inspect and repair foundation and grout, eliminate soft foot |
| Lubrication problems (wrong grade, contamination, low oil level) | Bearing overheating and damage | Use the correct lubricant and keep it clean at the specified level |
Hydraulic Problems
Air in the system causes noise, vibration and loss of performance, so vent thoroughly at high points. Cavitation is caused by insufficient NPSH and leads to noise, vibration and component damage, so confirm there is enough NPSH margin. Recirculation usually happens when the operating point is far from the best efficiency point (BEP), causing vibration and early wear. It can be solved by adjusting system resistance or trimming the impeller.
Control Problems
Poorly tuned control loops cause oscillation or sluggish response, so adjust PID parameters systematically. Faulty or miscalibrated sensors cause incorrect control action, so check sensor condition and calibration. Oversized or undersized control valves reduce control quality, so verify that valve sizing suits the duty.
Conclusion
Successful installation and commissioning depend on careful planning, systematic execution and attention to detail. Following proven procedures, maintaining quality standards and drawing on the manufacturer’s experience lets equipment run reliably for the long term from its first start-up.
If you are sourcing pumps, valves or related equipment for a project, send KFE your equipment list and operating data and we will help with selection and quotation.
Related industry: Renewable Energy